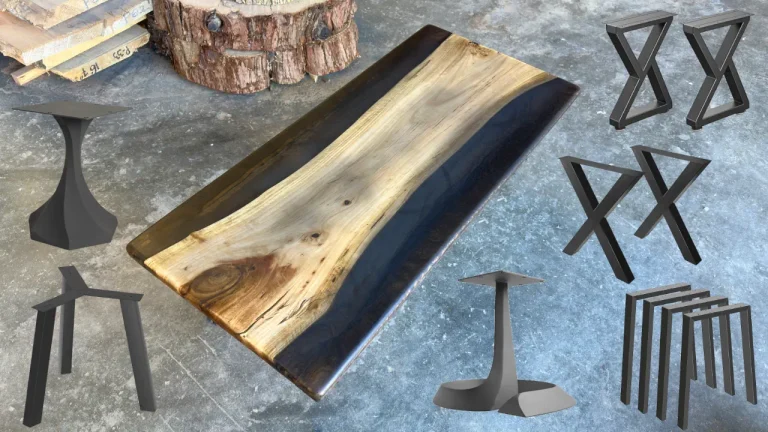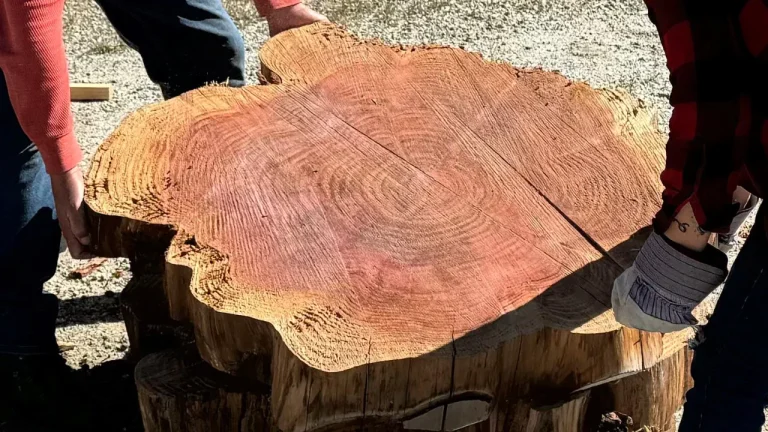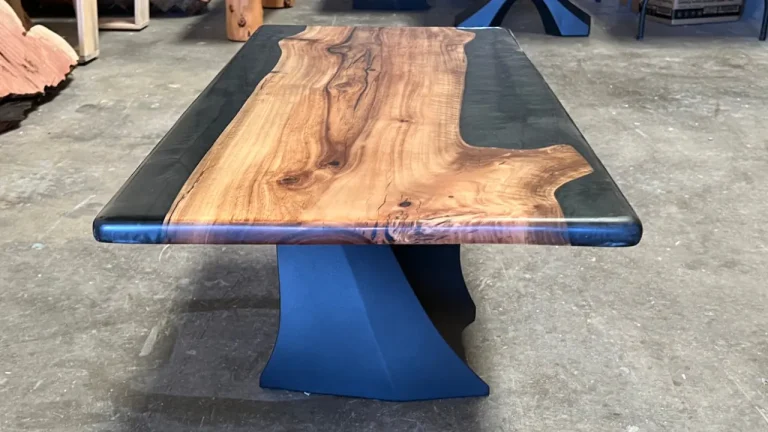

Creating a Live Edge Pine Dining Table with the Domino Tool is an exciting project that combines the rustic charm of live-edge wood with the precision of modern joinery techniques. Here, we’ll guide you through the process step by step:
Materials and Tools Needed
Before you begin, gather the necessary materials and tools:
Materials:
- Live Edge Pine Slabs (responsibly harvested)
- Domino Tenons
- Wood Glue
- Sandpaper (various grits)
- Finish (e.g., oil, varnish, or wax)
- Clamps
Tools:
- Domino Joiner Tool
- Circular Saw or Table Saw
- Planer
- Belt Sander or Orbital Sander
- Router (optional)
- Safety Gear (goggles, ear protection, dust mask)
Step 1: Prepare Your Pine Slabs
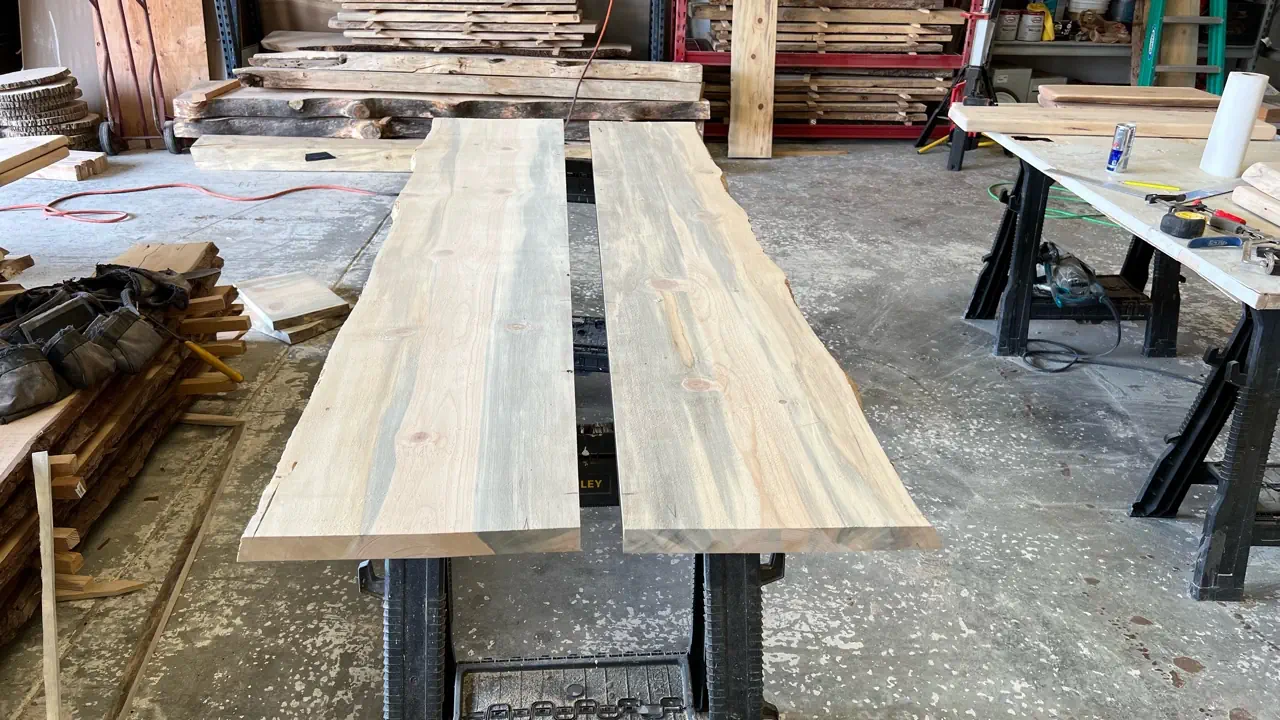
- Select and Arrange: Choose your live edge pine slabs, considering their shape and size. Arrange them so that the live edges create an aesthetically pleasing tabletop.
- Cut to Size: Use a circular saw or table saw to cut the slabs to your desired table dimensions. Ensure that the cuts are straight and square.
- Plane and Sand: Run the slabs through a planer to make them uniform in thickness. Then, use a belt sander or orbital sander to smooth the surfaces and edges. Start with coarse grit and progress to finer grits for a smooth finish.
Step 2: Domino Joinery
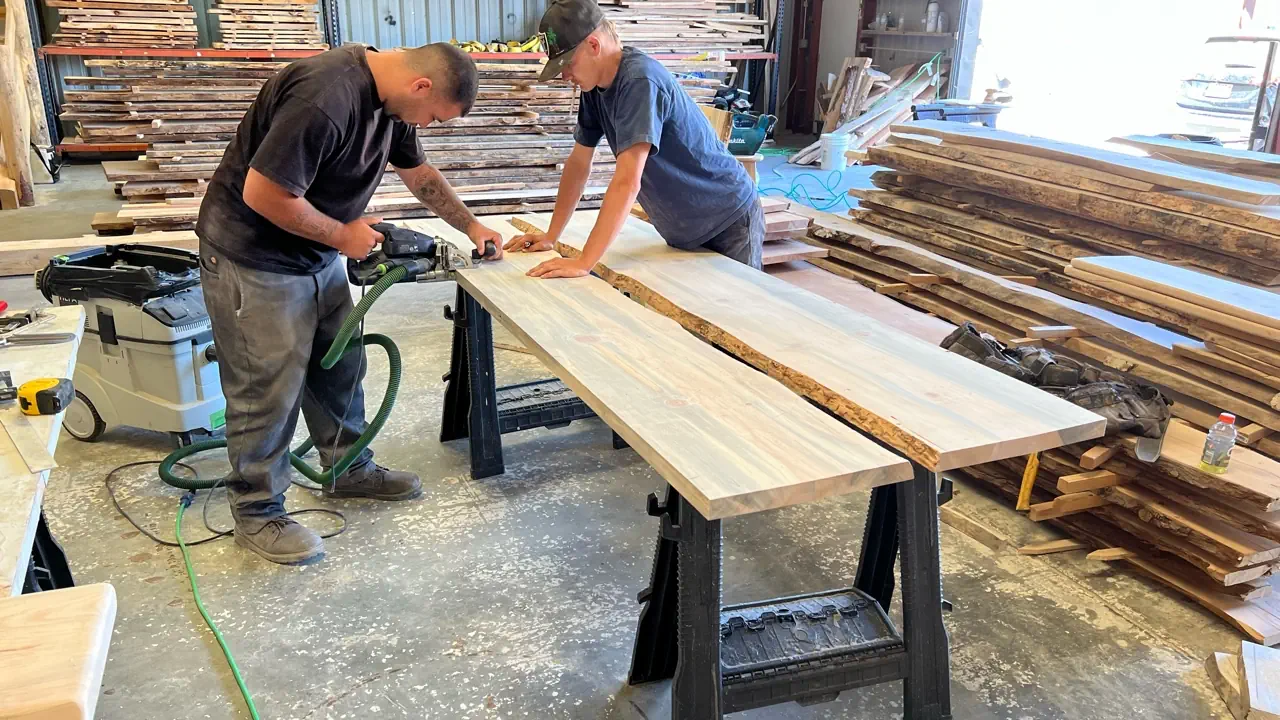
- Domino Tool Setup: Set up your Domino Joiner tool according to the thickness of your slabs and the size of the Domino tenons you’ll be using.
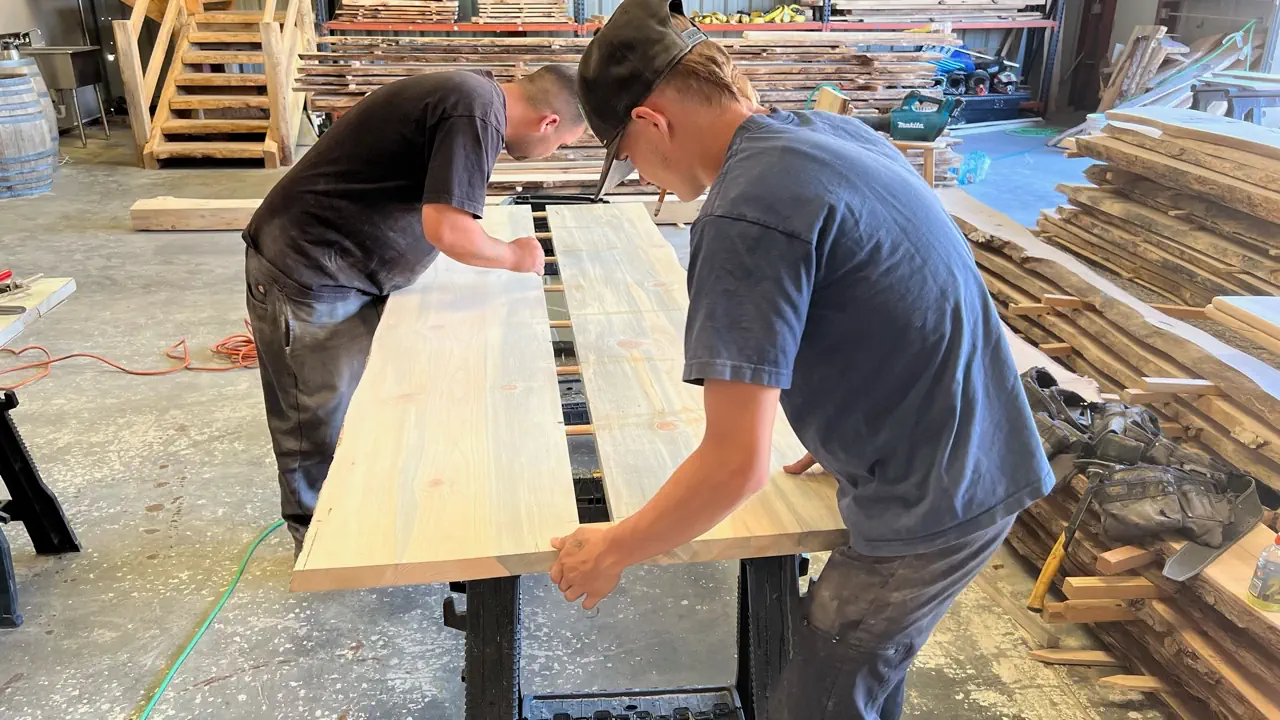
- Mark Domino Locations: Measure and mark the locations for the Domino joints on the slabs. Ensure the joints are evenly spaced along the edges where the slabs will be joined.
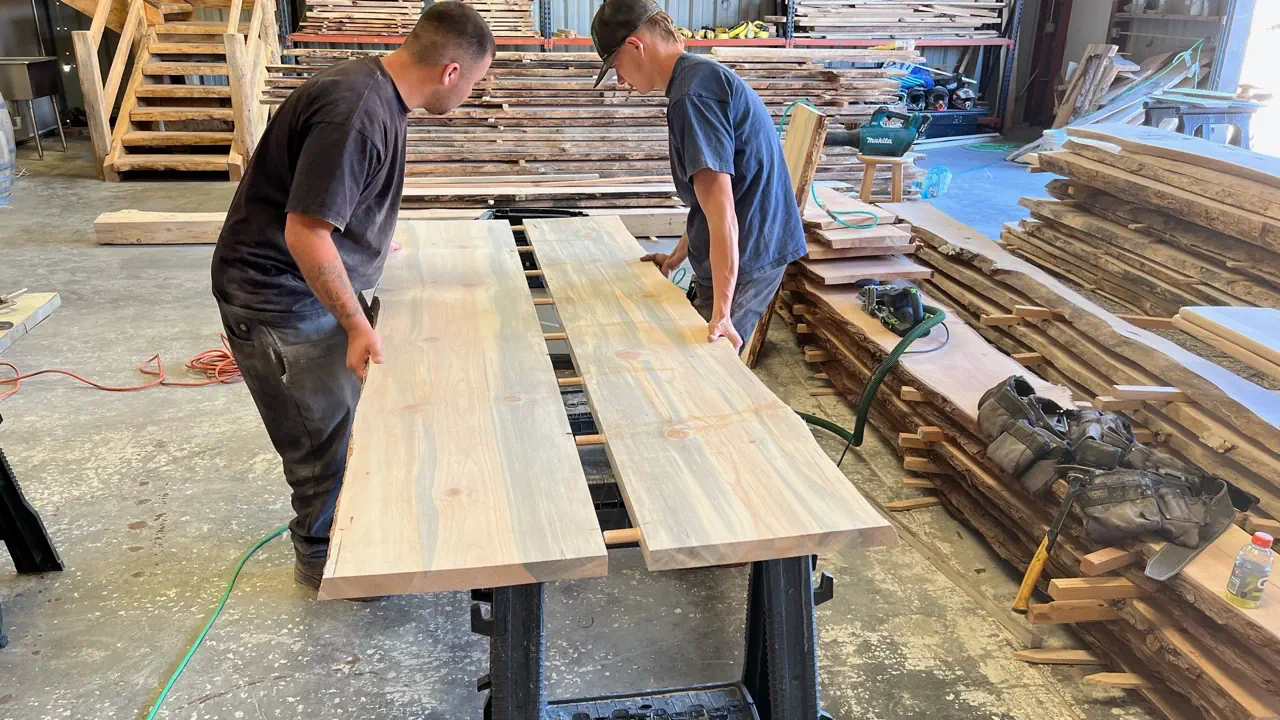
- Cut Domino Mortises: Use the Domino Joiner to cut mortises (slots) into one of the slab’s edges at the marked locations. Repeat this process for the corresponding edge of the other slab.
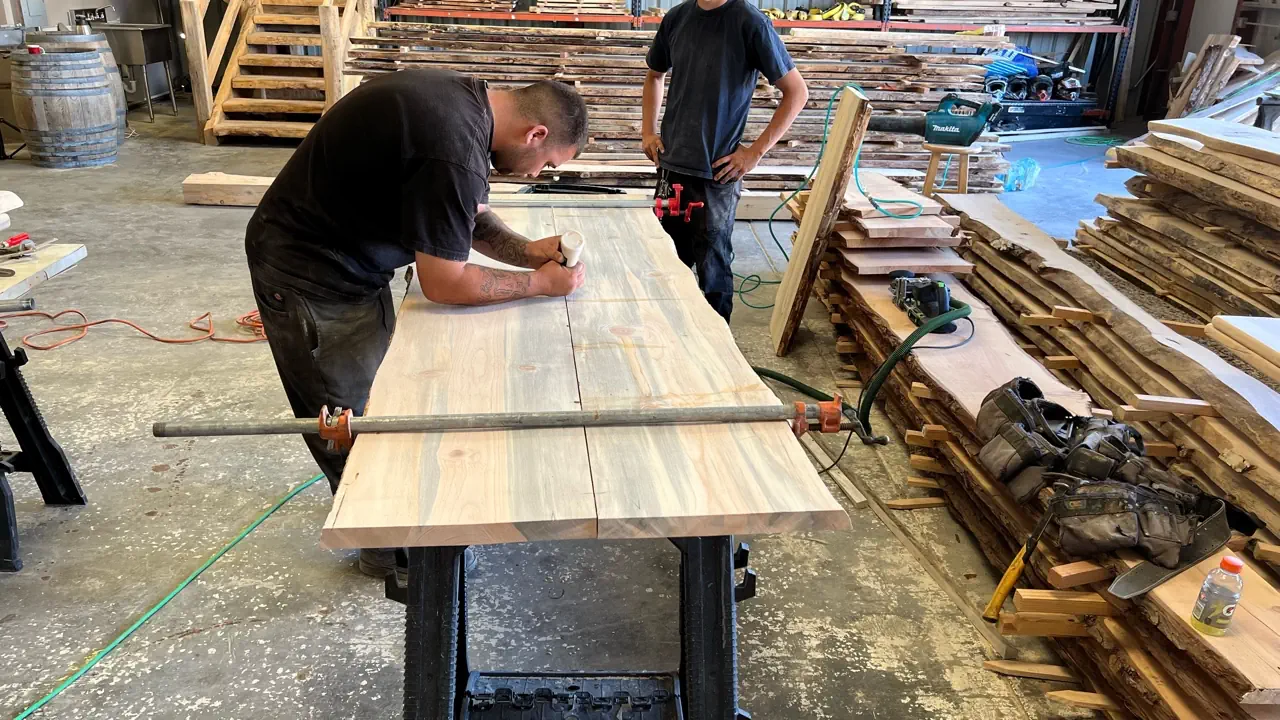
- Insert Domino Tenons: Apply wood glue to the mortises and insert the Domino tenons. Make sure the joints fit snugly. Use clamps to secure the slabs together while the glue dries.
Step 3: Finishing
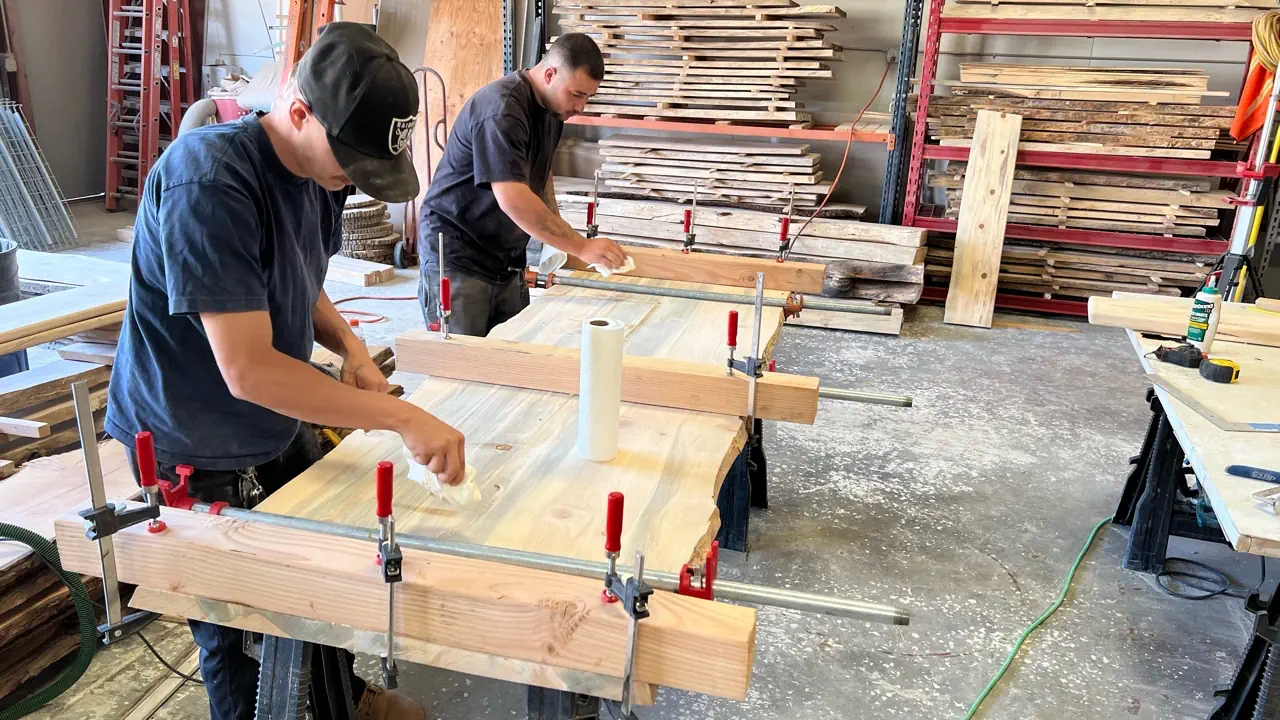
- Sand the Joints: Once the glue is dry, remove any excess with a chisel and sand the joints to ensure a seamless connection.
- Sand and Finish the Tabletop: Continue sanding the entire tabletop, working through progressively finer grits until you achieve the desired smoothness.
- Apply Finish: Apply your chosen finish (e.g., oil, varnish, or wax) to protect the wood and enhance its natural beauty. Follow the manufacturer’s instructions for application and drying times.
Step 4: Assemble the Table Base
- While your tabletop finish is drying, assemble the table base according to your custom design and specifications.
Step 5: Final Assembly
- Once the tabletop finish is fully dry, attach it to the prepared table base. Depending on your design, you may need to use brackets, screws, or other hardware to secure the tabletop.
- Double-check the table’s stability and make any necessary adjustments.
Congratulations! You’ve successfully created a stunning Live Edge Pine Dining Table using the Domino Tool. Enjoy your handmade, responsibly harvested, and sustainably crafted piece of furniture.