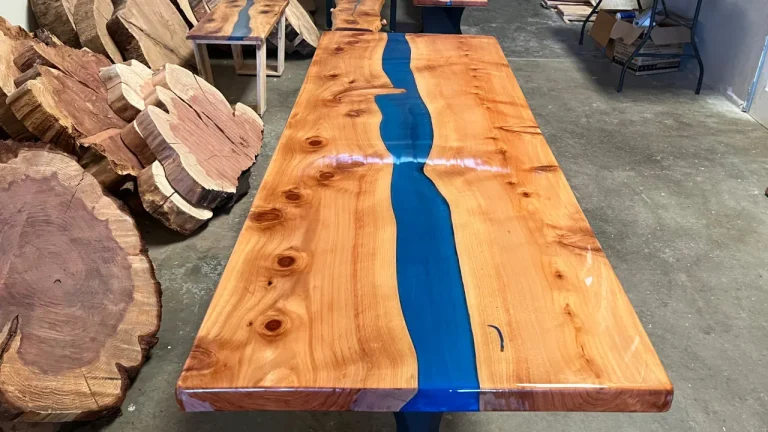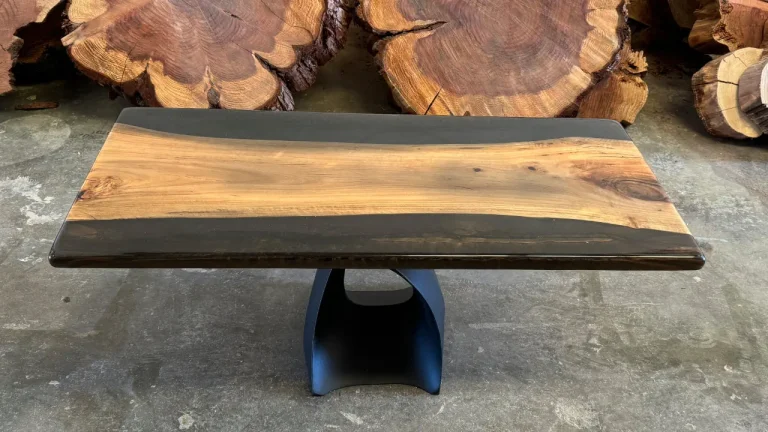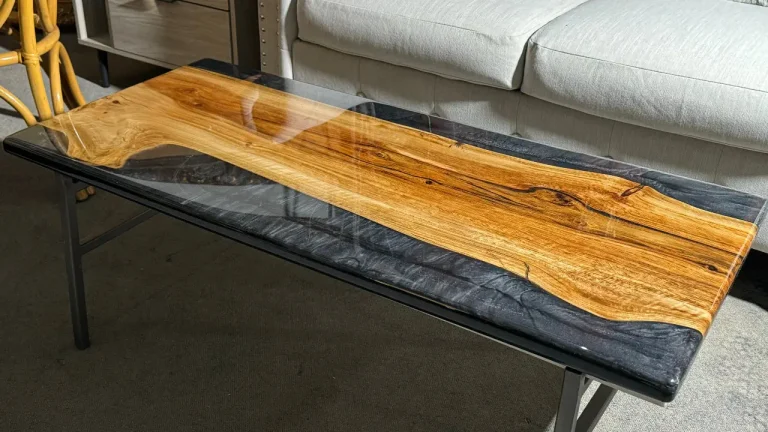
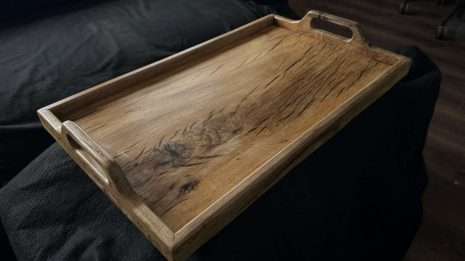

If your epoxy resin table has incurred damage, you can follow these step-by-step instructions to repair it. Please note that the extent of the damage will determine the appropriate method, and it’s essential to approach the repair process carefully.
Repairing a Damaged Epoxy Resin Table
If your epoxy resin table has incurred damage, you can follow these step-by-step instructions to repair it. Please note that the extent of the damage will determine the appropriate method, and it’s essential to approach the repair process carefully.
Supplies Needed:
- Epoxy Resin Repair Kit: Obtain a quality epoxy resin repair kit suitable for your table. Ensure it matches the color and finish of your existing epoxy.
- Fine Grit Sandpaper:
- 200-grit and 400-grit sandpaper for smoothing the damaged area.
- Clean, Lint-Free Cloths:
- Use these for cleaning and wiping throughout the repair process.
- Masking Tape:
- To create a boundary around the damaged area and prevent accidental resin spillage.
Repair Steps:
- Assessment:
- Evaluate the extent of the damage. Identify any loose or chipped resin.
- Clean the Area:
- Wipe the damaged area with a clean, damp cloth to remove any debris or dirt.
- Masking:
- Use masking tape to create a boundary around the damaged section. This will help contain the repair and protect the surrounding areas.
- Sanding:
- If there are raised or rough edges, use 200-grit sandpaper to gently sand the damaged area until it’s level with the surrounding surface.
- Fine Sanding:
- Switch to 400-grit sandpaper for a finer finish. Smooth the sanded area carefully to prepare it for the epoxy application.
- Mix Epoxy Resin:
- Follow the instructions on your epoxy resin repair kit to mix the resin. Ensure you measure accurately for proper curing.
- Fill the Damaged Area:
- Carefully pour the mixed epoxy resin into the damaged area. Use a tool or spatula to spread it evenly.
- Remove Bubbles:
- If bubbles form in the resin, use a heat gun or torch to gently pass over the surface and remove them. Follow safety guidelines for using heat tools.
- Curing Time:
- Allow the epoxy resin to cure according to the kit instructions. This may take several hours or days.
- Final Sanding:
- Once the resin has cured, use fine sandpaper to smooth the repaired area further.
- Clean Up:
- Remove the masking tape and clean any residual epoxy carefully.
- Polishing (if needed):
- If the repaired area has a different sheen, you may need to polish the entire table to achieve a uniform finish.
By following these steps, you can effectively repair a damaged epoxy resin table. If you encounter any challenges or have specific questions during the process, feel free to ask for further assistance.