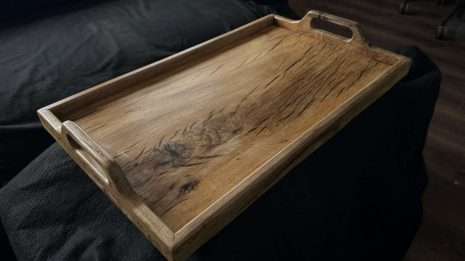

How to Finish and Seal Wood for Long-Lasting Beauty
Wood is a timeless material that can bring warmth and character to any space, but without proper finishing and sealing, it can deteriorate quickly. Whether you’re working on a handcrafted table, a rustic countertop, or a decorative wall panel, the right finish can protect your wood while enhancing its natural beauty. In this guide, we’ll walk you through the best practices for finishing and sealing wood to ensure durability and aesthetic appeal.
Step 1: Choose the Right Wood Finish
The type of finish you select depends on the wood species and the intended use of the piece. Here’s a breakdown of popular wood finishes:
| Finish Type | Benefits | Best for |
|---|---|---|
| Oil-Based Finishes (e.g., Tung oil, Linseed oil) | Enhances natural grain, deep penetration, easy to reapply | Decorative furniture, indoor surfaces |
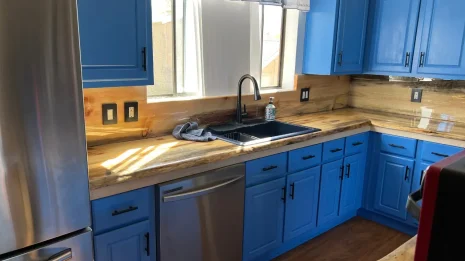
| Polyurethane | Highly durable, water-resistant, available in different sheens | Tabletops, countertops, flooring |
| Lacquer | Fast-drying, smooth and glossy finish, requires spraying | Fine furniture, cabinets |
| Shellac | Natural, enhances grain, warm glow | Antique furniture, decorative pieces |
| Wax | Soft sheen, easy to apply and reapply | Low-traffic furniture, decorative surfaces |
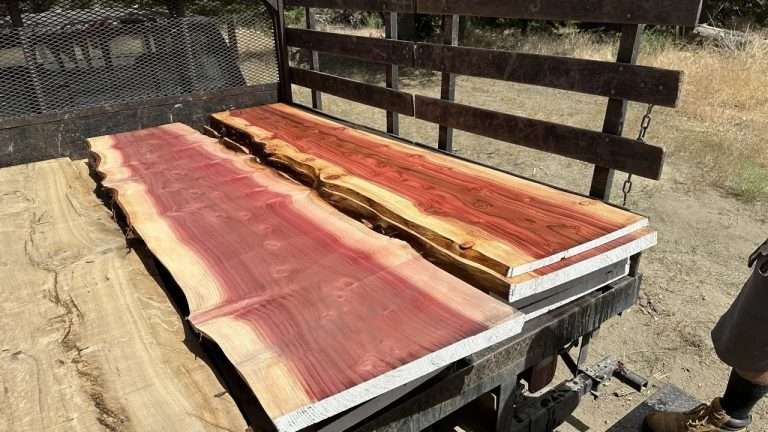
For woods commonly used at Mountain Dog Millworks, such as pine, red oak, fir, and redwood, oil-based finishes work well for enhancing natural grain, while polyurethane or lacquer provides extra durability for high-use areas.
Step 2: Prepare the Wood Surface
Before applying any finish, proper surface preparation is key. Follow these steps:
- Sanding – Start with 80-100 grit sandpaper to smooth rough spots, then progress to 220 grit for a fine finish.
- Remove Dust – Use a tack cloth or compressed air to clear away fine dust particles.
- Condition Softwoods – Woods like pine and fir absorb stain unevenly. Applying a wood conditioner helps ensure an even color.
Step 3: Apply the Finish
Different finishes require different application methods:
- Oil Finishes: Use a lint-free cloth to rub the oil into the wood in circular motions, allowing it to penetrate. Wipe off excess after 15-30 minutes and let dry. Apply multiple coats for depth.
- Polyurethane: Apply with a brush or foam applicator in thin, even coats. Sand lightly between coats with 320-grit sandpaper for smoothness.
- Lacquer: Spray in light, even passes. Allow drying between coats, and sand lightly as needed.
- Wax: Rub on with a soft cloth, buffing to achieve the desired sheen.
Step 4: Seal the Wood for Protection
A final sealant helps lock in the finish and protect against moisture and wear. Consider these options:
- Clear Polyurethane (oil- or water-based) – Provides the strongest protective layer.
- Paste Wax – Adds a soft luster but requires periodic reapplication.
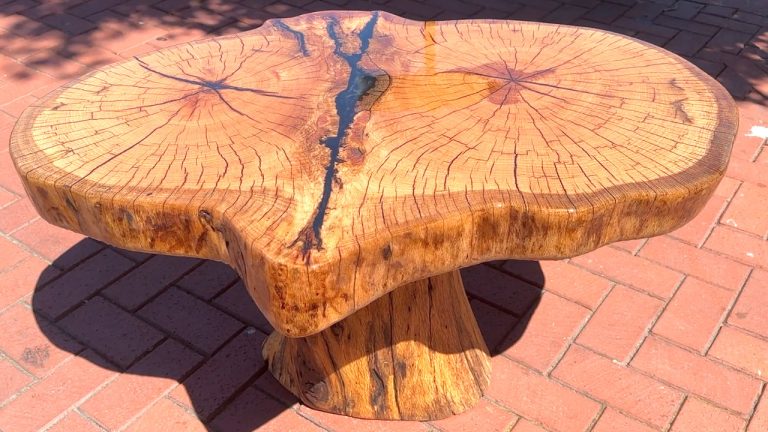
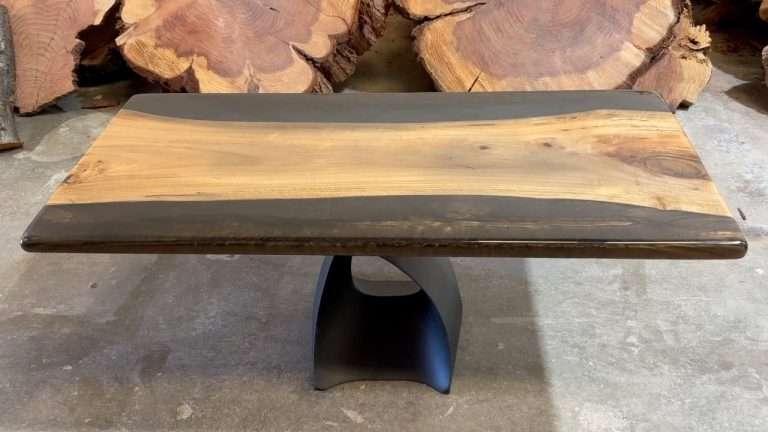
- Epoxy Resin – Ideal for river tables and high-gloss surfaces.
For outdoor applications, opt for a spar urethane or marine varnish to withstand the elements.
Step 5: Maintain Your Finished Wood
Proper care extends the life of your wood finish. Follow these maintenance tips:
- Dust Regularly – Use a soft cloth to prevent buildup.
- Avoid Harsh Chemicals – Use mild soap and water for cleaning.
- Reapply Finish as Needed – Wax and oil finishes may require touch-ups over time.
- Use Coasters and Pads – Protect surfaces from heat and moisture damage.
Final Thoughts
Finishing and sealing wood is an essential step to preserving its beauty and functionality. Whether you’re crafting a custom dining table or refinishing an heirloom piece, choosing the right finish and applying it properly will ensure long-lasting results. At Mountain Dog Millworks, we take pride in using high-quality, sustainable wood and expert finishing techniques to create durable, beautiful pieces.
For more woodworking tips and handcrafted inspiration, follow our blog or explore our latest custom projects at Mountain Dog Millworks!