
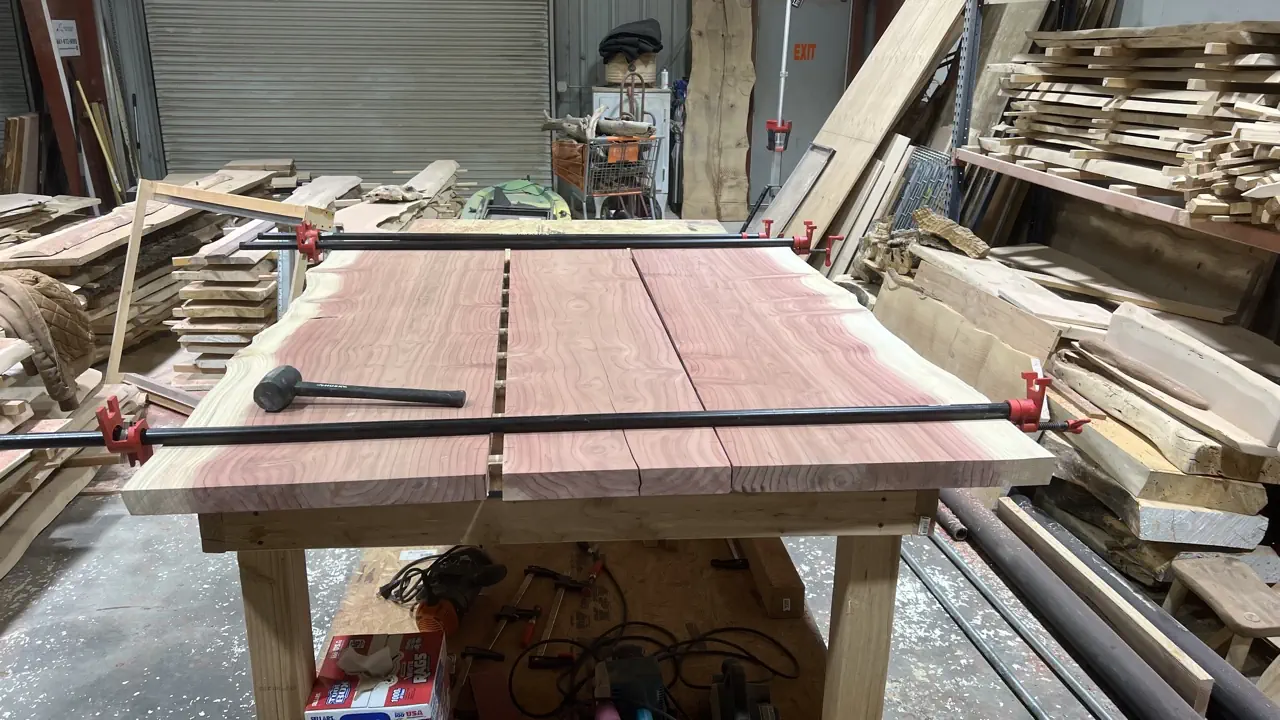
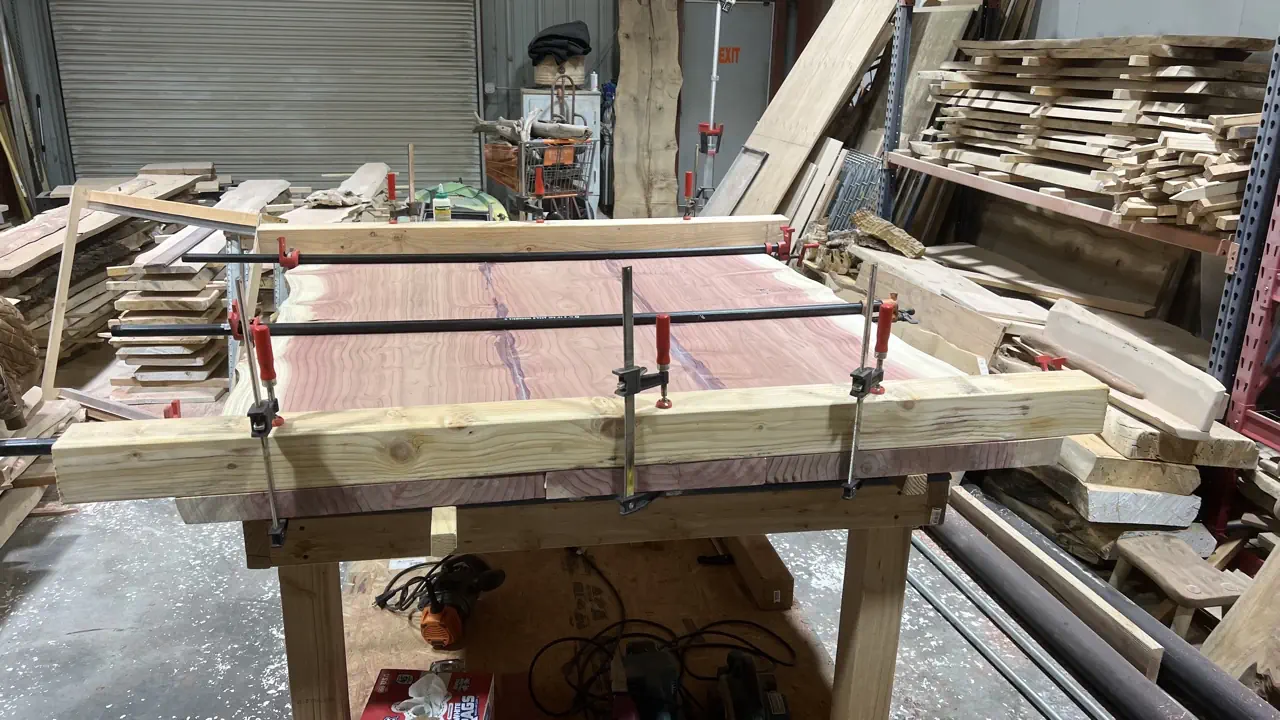
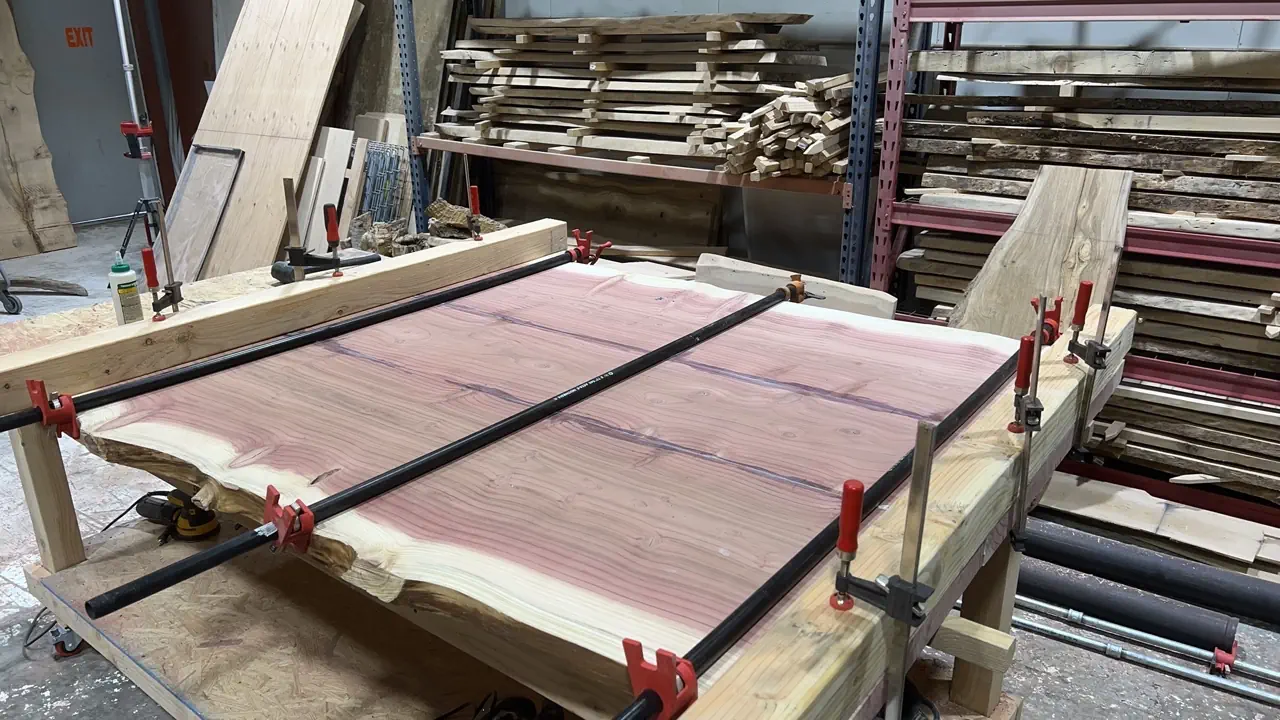
When working with live edge slabs, creating a seamless and natural-looking joint is crucial, especially for maintaining the organic aesthetic that live edge wood provides. The Festool Domino joiner is an excellent tool for this purpose because it creates strong, accurate, and hidden joints. Below, I’ll guide you step-by-step on how to use the Domino tool to combine live edge slabs effectively:
Step 1: Preparing the Slabs
Objective: Ensure that the slabs to be joined are planed and sanded to the desired thickness and smoothness.
- Why: Smooth and even surfaces help in achieving tight and strong joints.
Step 2: Aligning the Slabs
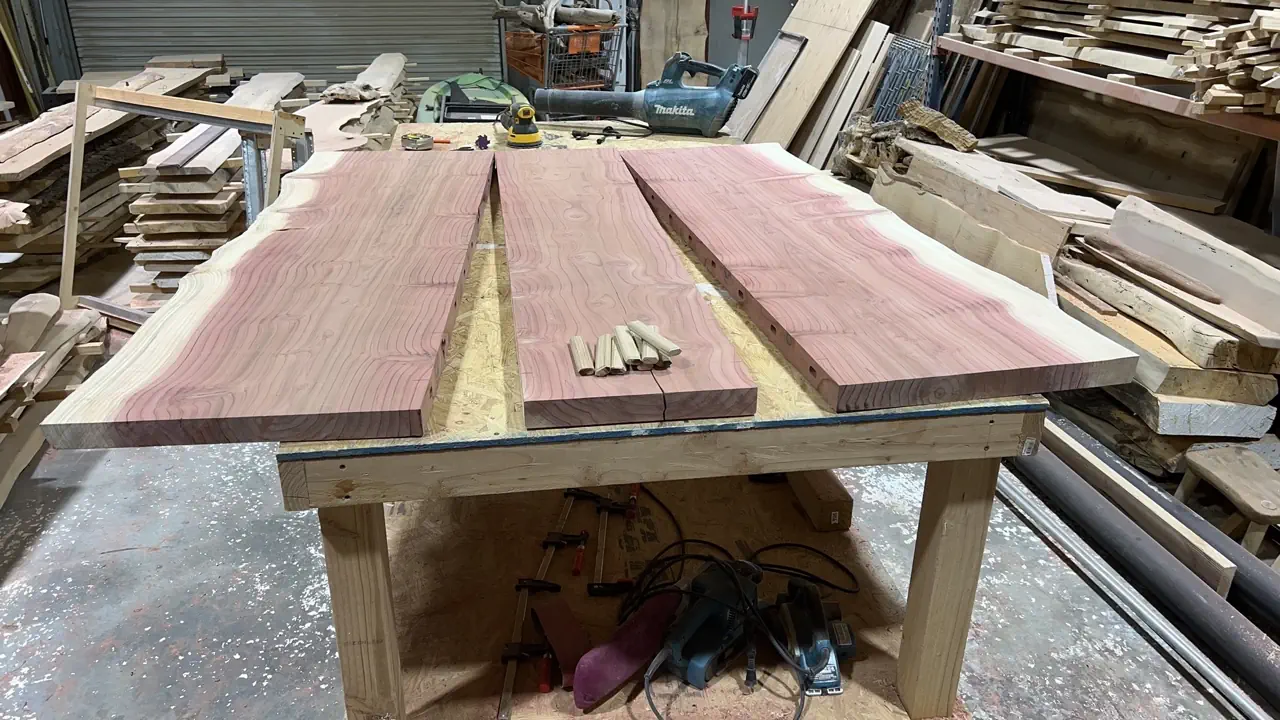
Objective: Arrange the slabs in the desired position, keeping the live edges adjacent to each other.
- Why: Proper alignment is critical for visual continuity of the live edge.
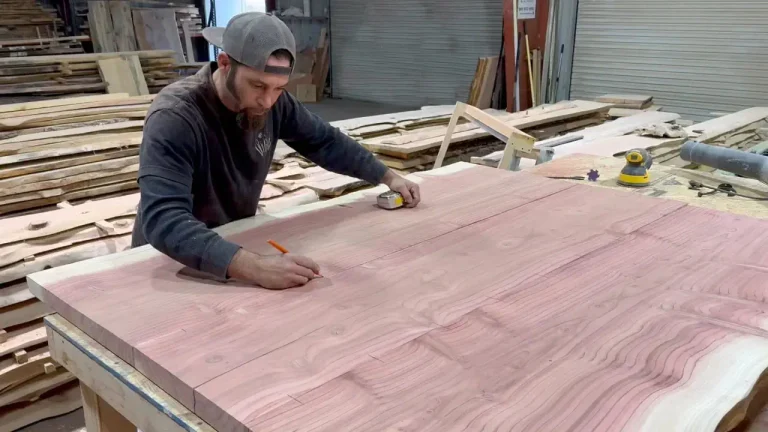
Step 3: Marking Domino Placement
Objective: Use a pencil to mark where you will place the dominos along the seam where the slabs meet.
- Why: Marks act as guides to ensure that the dominos are evenly spaced and aligned correctly across both slabs.
Step 4: Setting Up the Domino Joiner
Objective: Adjust the Domino joiner to the correct settings, including depth and angle.
- Settings:
- Depth: Typically half the thickness of your slabs.
- Width: Choose a setting slightly wider than the standard to allow for some wood movement.
- Why: Correct settings ensure that the dominos fit perfectly, neither too loose nor too tight, allowing for wood expansion and contraction.
Step 5: Cutting the Mortises
Objective: Use the Domino tool to cut mortises at each marked spot on both slabs.
- Technique: Hold the tool firmly and align it with your marks. Press the tool forward to make the cuts.
- Why: Precision in cutting ensures that the dominos fit snugly, creating a strong joint.
Step 6: Dry Fitting
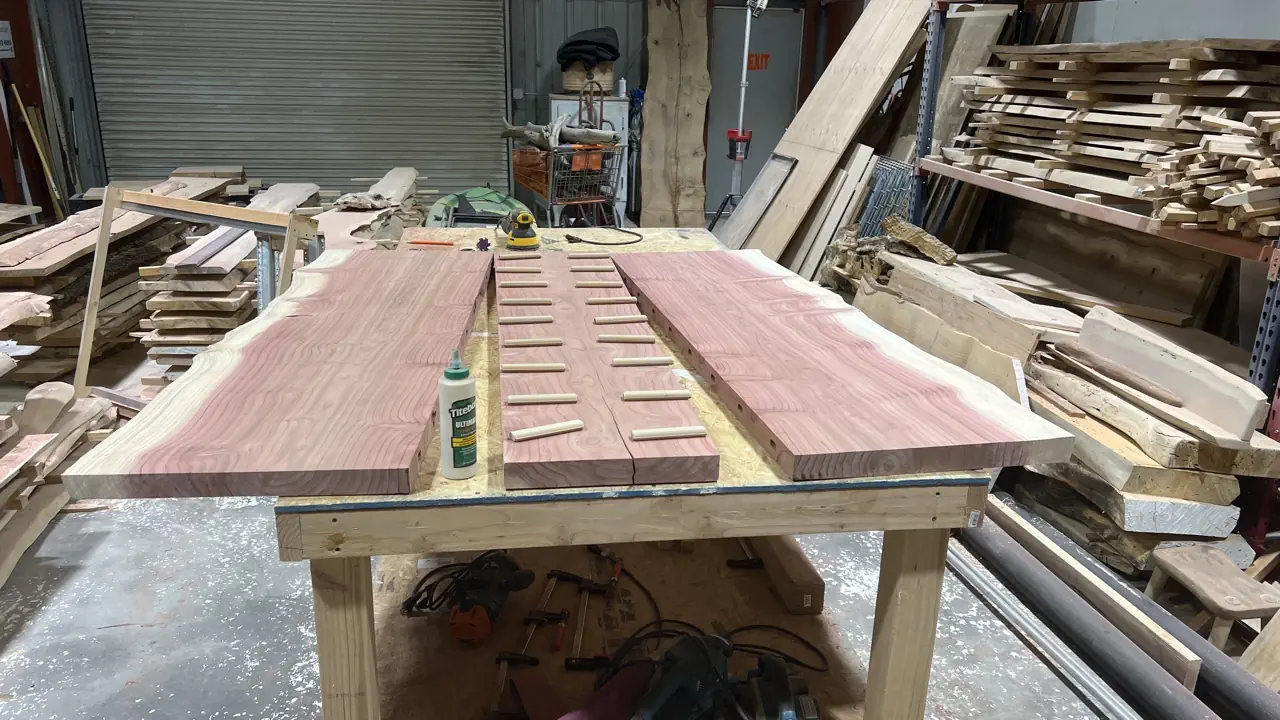
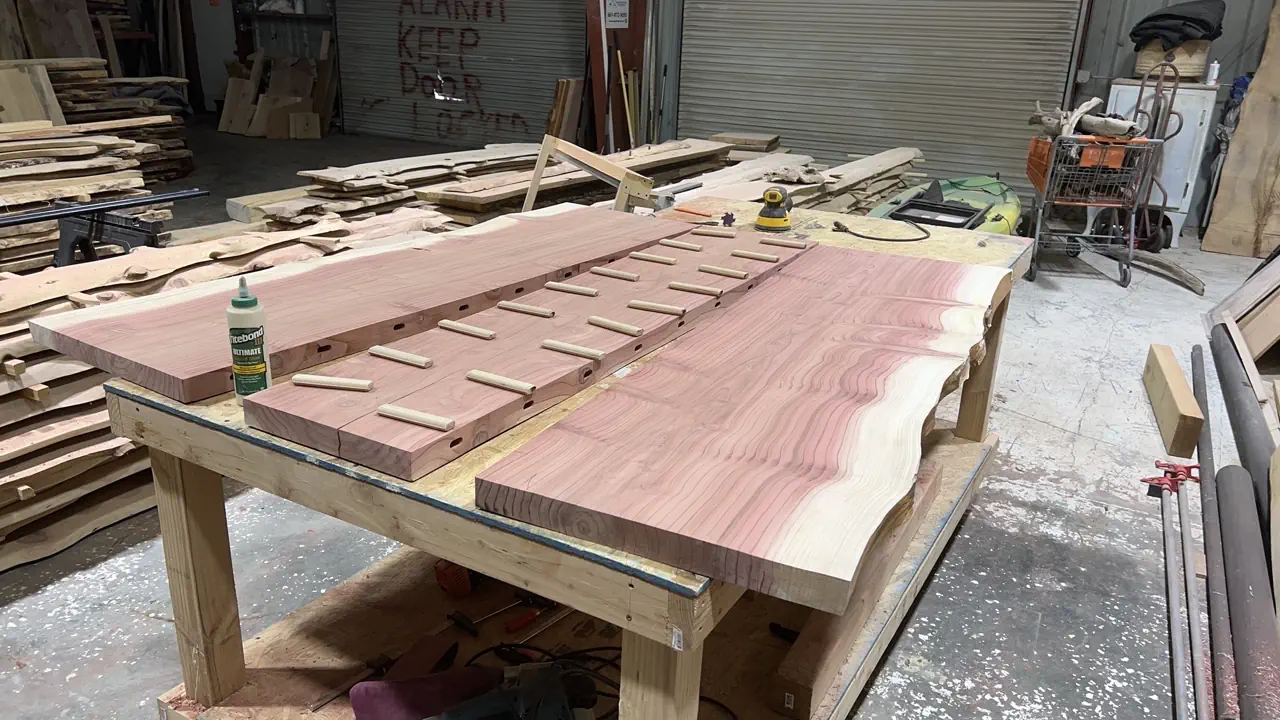
Objective: Insert dominos into the mortises of one slab and then fit the other slab onto the dominos to check the joint.
- Why: Dry fitting helps in identifying any adjustments needed before final gluing.
Step 7: Gluing
Objective: Apply wood glue in the mortises and on the dominos, then clamp the slabs together.
- Materials: Use a high-quality wood glue suitable for your type of wood.
- Why: Proper gluing and clamping ensure a strong bond and seamless appearance once the glue dries.
Step 8: Clamping and Curing
Objective: Use bar clamps or parallel clamps to hold the slabs tightly together while the glue cures.
- Duration: Typically, leave the clamps on for at least 24 hours.
- Why: Adequate clamping pressure and curing time are essential for glue to set properly, ensuring a durable joint.
Step 9: Finishing Touches
Objective: Once the glue has dried, remove the clamps and sand the joint area to smooth out any unevenness or excess glue.
- Why: Sanding will enhance the aesthetics of the joint, making it appear almost invisible.
Final Check
Objective: Inspect the joint thoroughly for any gaps or weaknesses.
- Why: Ensuring the joint’s integrity is crucial for both the appearance and structural stability of the final piece.
By following these steps, you can effectively use the Domino joiner to combine live edge slabs into a single piece, maintaining the natural beauty of the wood while ensuring a durable and aesthetically pleasing joint. Would you like to discuss any specific part of this process or any tools in more detail?